
Author visionOS
Download Now (also available for macOS)
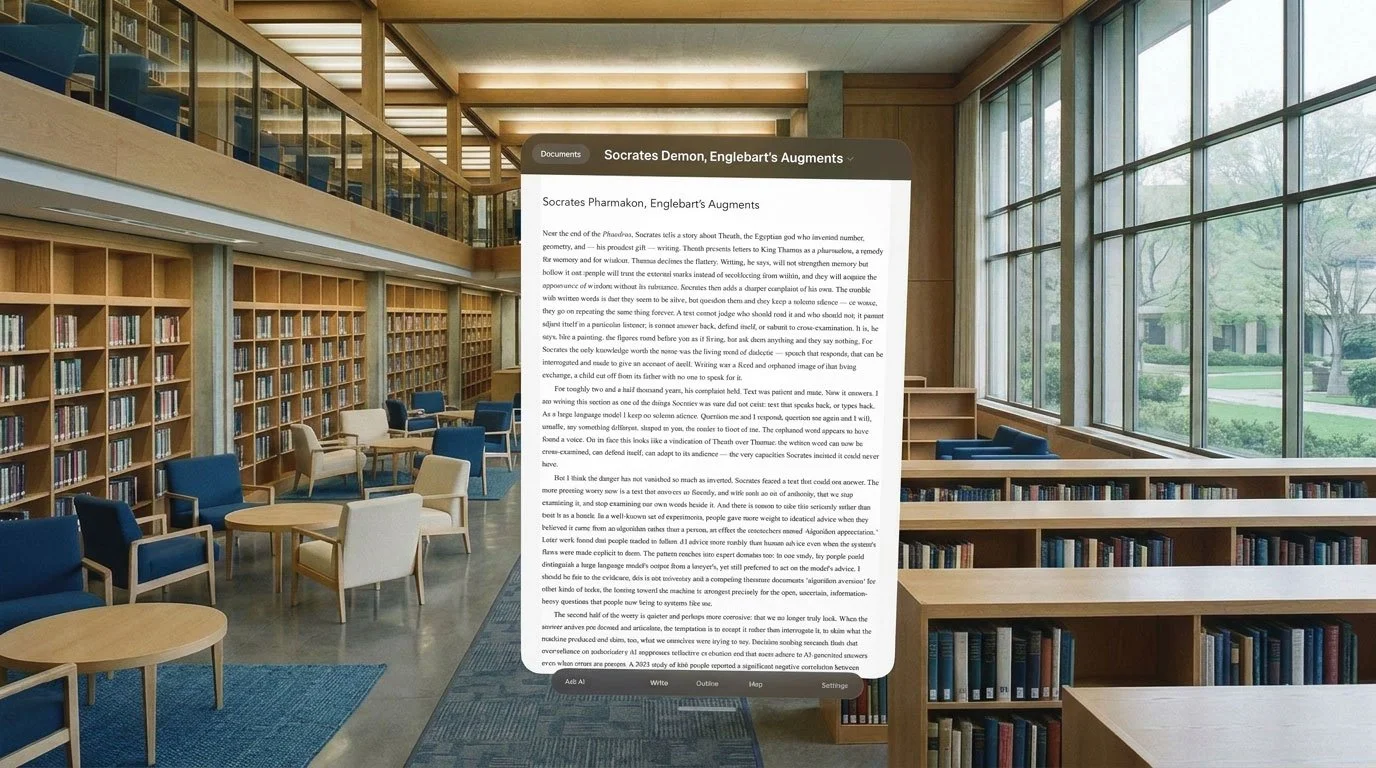
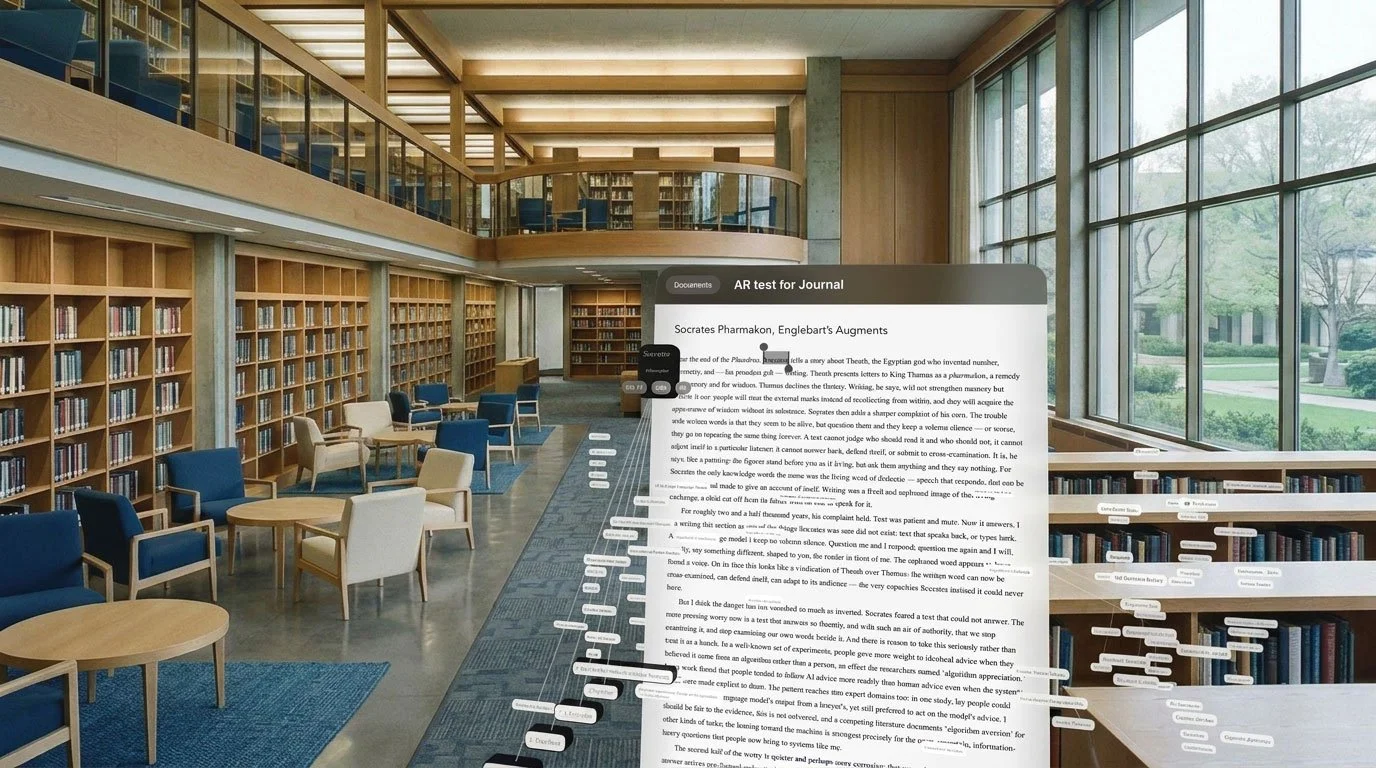
Working in Vision Pro can be as simple as working on your document in a traditional way, but in a window any size you want, using a virtual keyboard, bluetooth keyboard or speech to text:
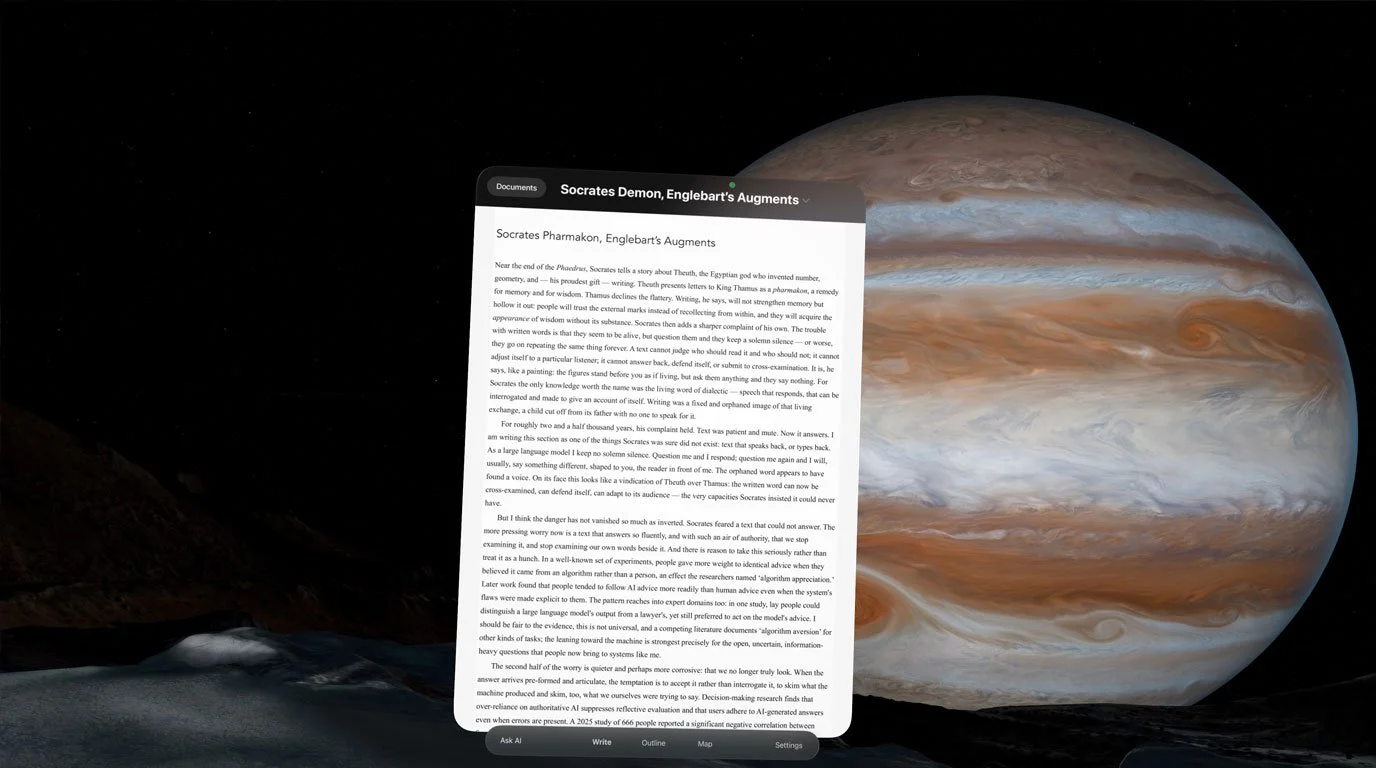
You can choose to work in an artificial environment to help you focus:
At the bottom of your document you have options for ‘Ask AI’ on the left and ‘Settings’ on the right, with the main display options in the center; ‘Write’ (which is the traditional document view you can see above), ‘Outline’ (table of contents) and ‘Map’ which shows any nodes, including defined concepts and notes in the space:

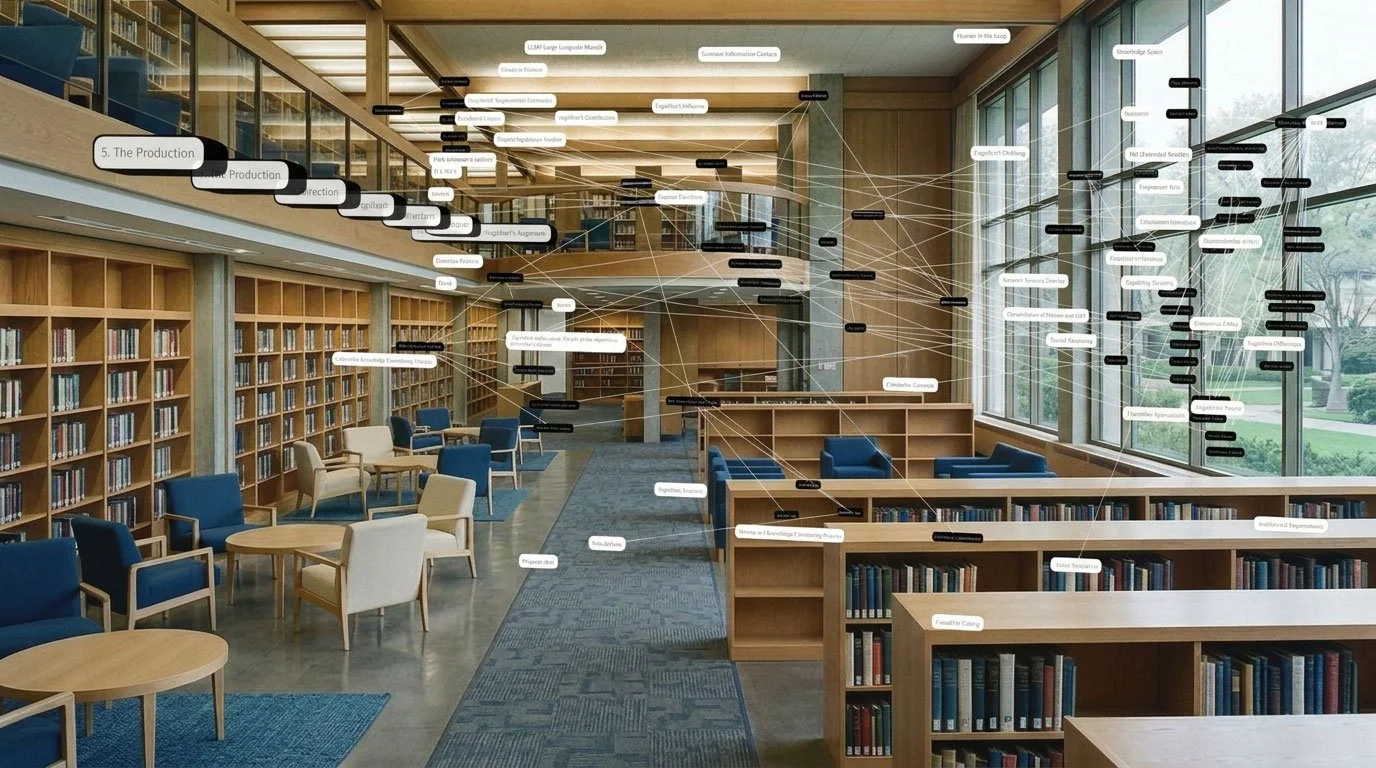
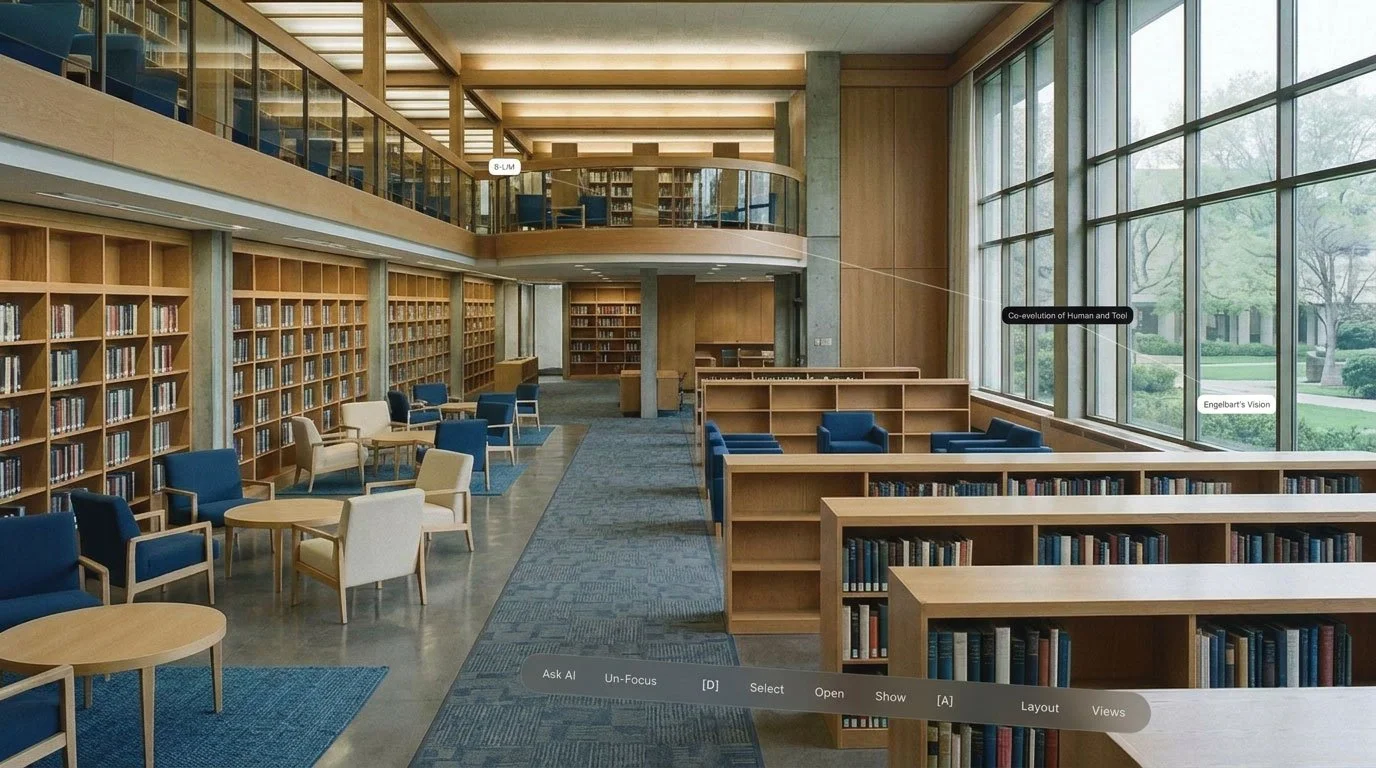
Map
If you choose ‘Map’ then any of your Defined Concepts and Notes all appear in the space around you, if you have created any on your Mac or in the headset.
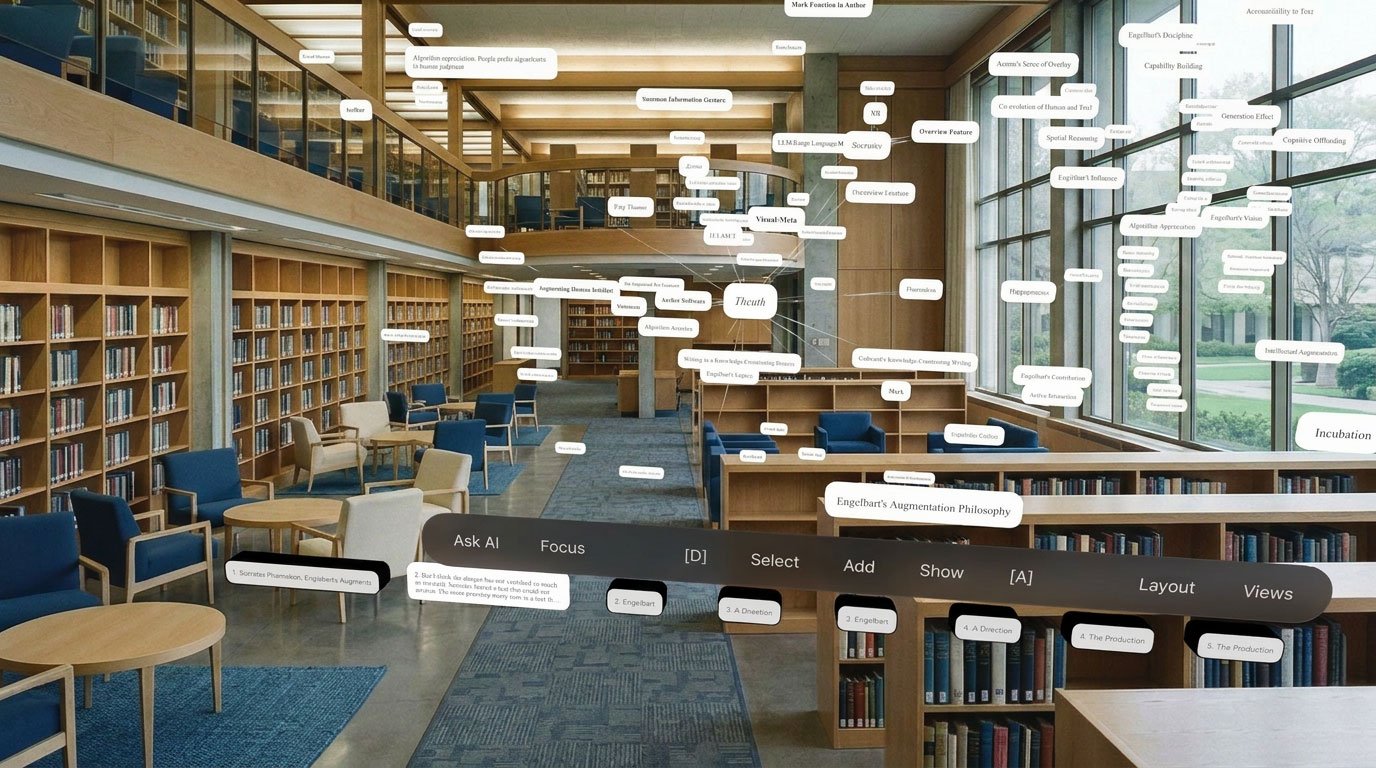
Launching the Map view produces the Map Toolbar, with options for ‘Ask AI’ and ‘Focus’ on the left, followed by ‘[D]’ (Deselect), ‘Select’ (produces a context menu for you to choose what should be selected), ‘Add’ (to add a new Note) or if something is selected ‘Open’ instead of ‘Add’ followed by ‘Show’ (determine what should be shown), ‘[A]’ (to Show All) and ‘Layout’ (arrange and align selected nodes) and Views (save Layouts) on the right.
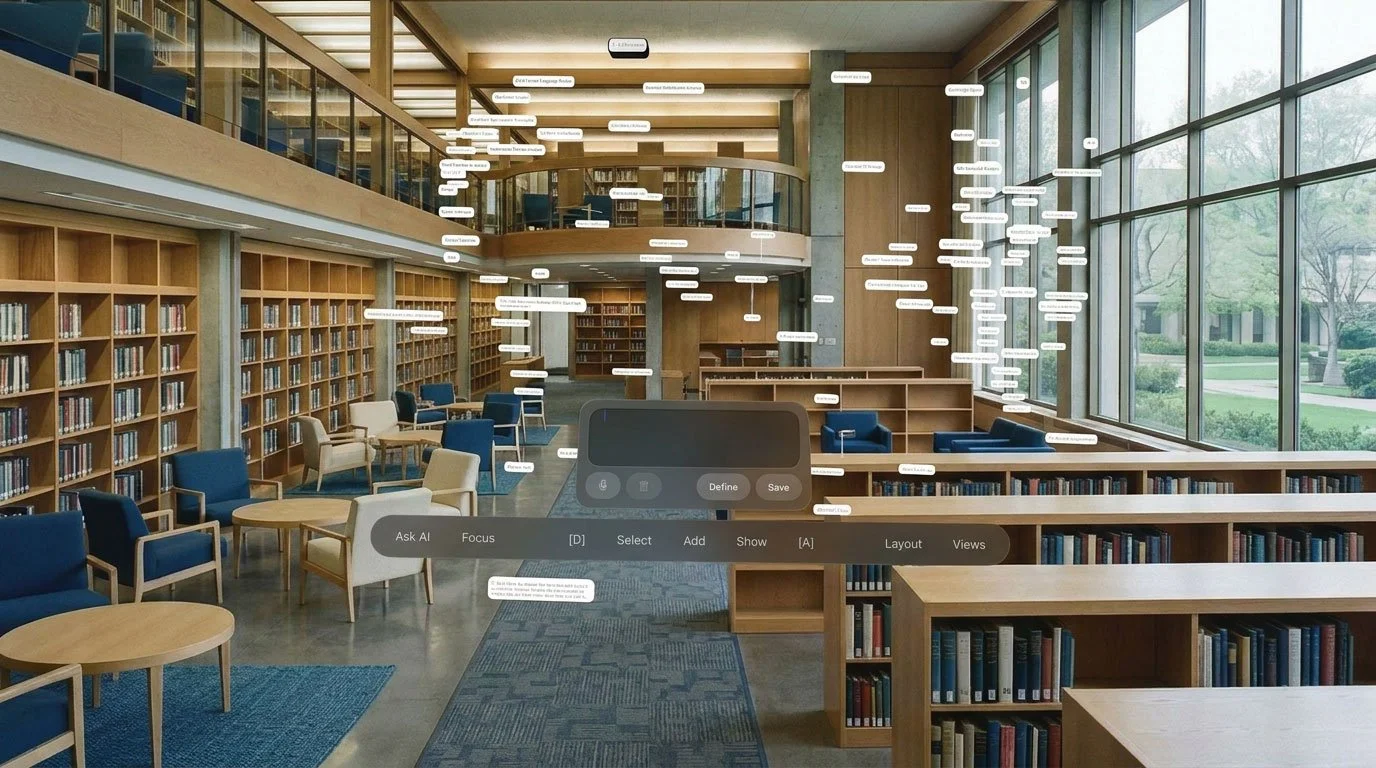
To interact with your knowledge you can pinch & drag elements, and you can use the powerful toolbar for useful selections by category, deciding what to show and hide, for instant layouts and more:
… as well as with only active elements shown, in Focus mode, where only selected nodes, and those they connect to, are visible. If you then select connected nodes then any nodes they connect to will also appear:
You can pinch & move any node and sometimes it’s easier to use the Layout options in the Toolbar. In the Toolbar you can also choose what to Select, such as all ‘Persons’ or all ‘Sections’:

To add a new Note or Defined Concept is quick and easy, just click ‘Add’ in the middle of the toolbar and speak or type what you want to have appear:
AI
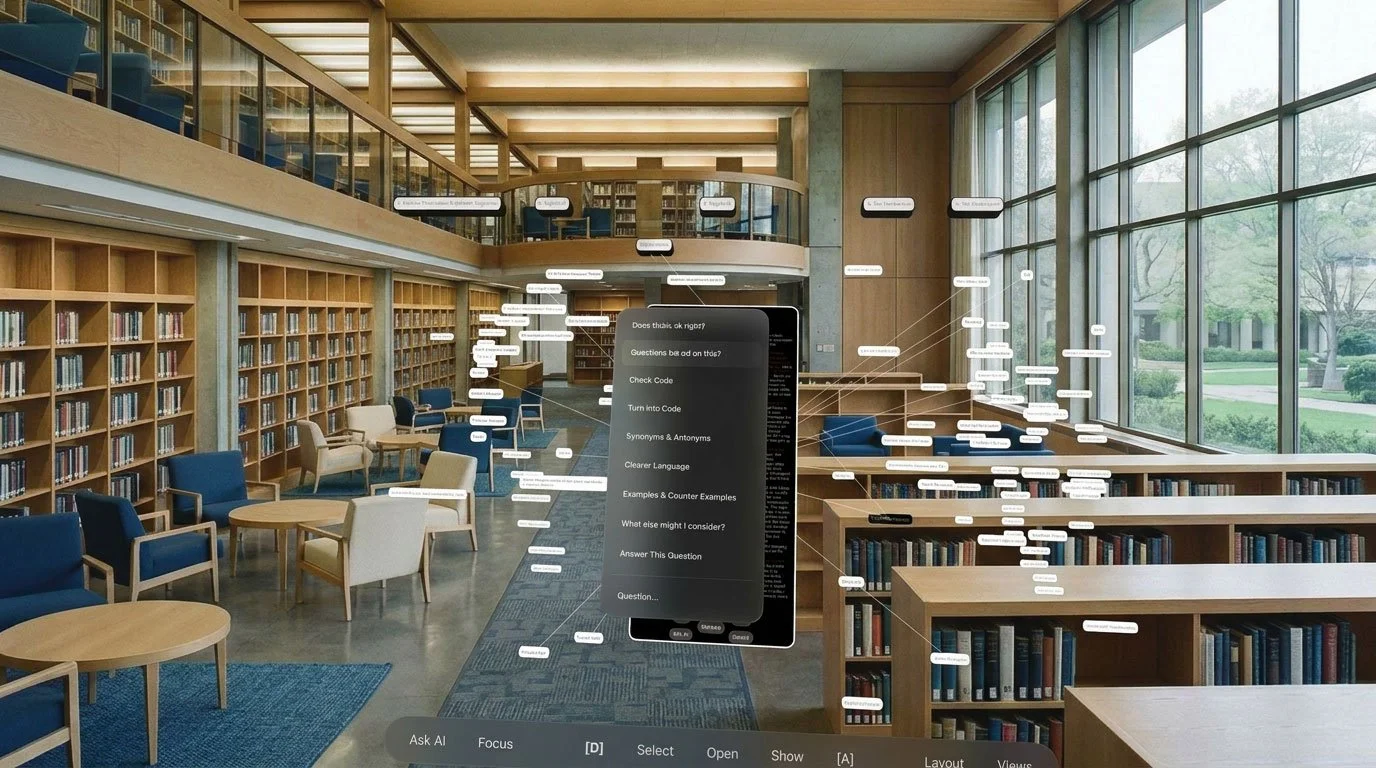
Ask AI is available from any selected and open Node. Select the Node and choose from a pre-written prompt or write your own:
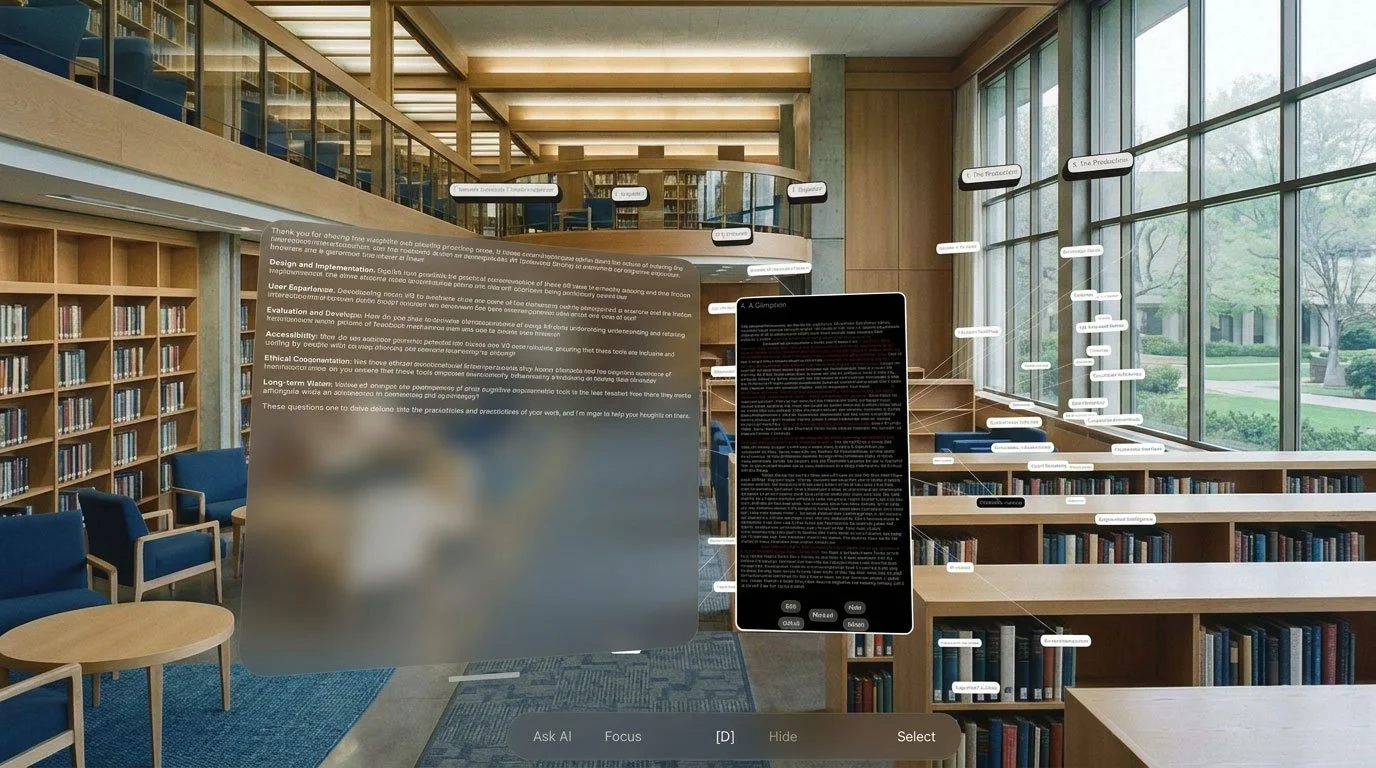
AI results appear as floating windows:
As you work you can save Layouts as Views to flexibly build up different perspectives of your work.
And at the end of your work session everything is available back on your Mac, including the spatial layout, so you can keep writing and re-visit the spatial experience any time.
Document & Nodes
The Document (Write mode) and the text in the space (Map) is connected in two ways:
You can select Defined Concepts in the document, such as below, where ‘Socrates’ is selected, and choose to have it in space as a floating node, connected to other nodes in the space. You can do this by selecting the Defined Concept (Socrates) and choosing ‘Map’ from the context menu that appears.
If the selected text is not of a Defined Concept you will be presented instead with an option to Define it.
Sections (headings) in Map
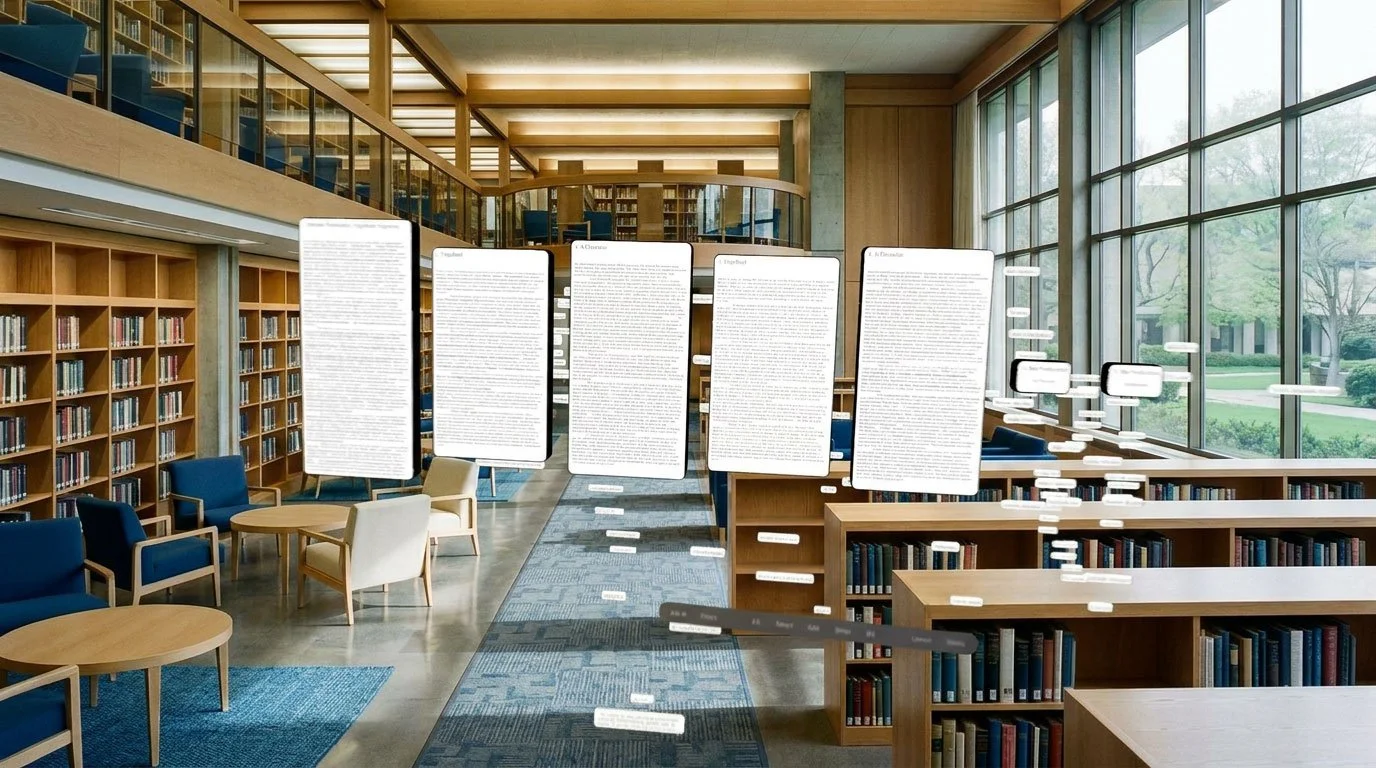
The Document can be presented in the Map view as ‘Sections’, which are headings plus any text following them in the document.
This can be useful when you want to see the full document instead of in a scrolling view, as shown here in a horizontal layout:
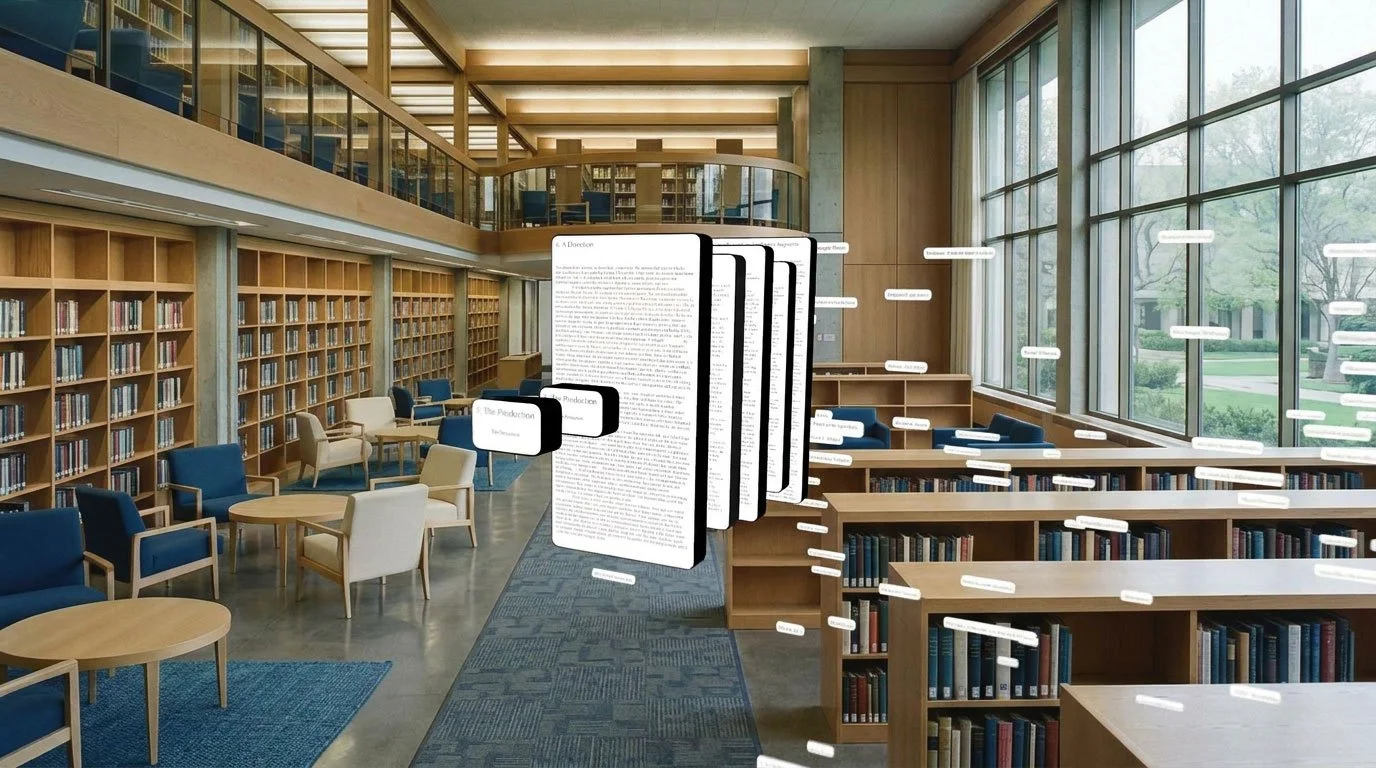
And below in a depth layout. To access the Sections you can either go to the Outline and then tap Sections or you can go to the Map view and choose to Select the Sections.
free Trial
Try the free version ‘Author | Basic’
It does not feature ‘Export’ but you can upgrade to full Author anytime.